Hey! I wanted to switch things up and sneak a quick craft tutorial in here. If you want something fun to do for girls night or while you’re bingeing your next favorite series, this quick craft is sure to be just the thing. The total cost is around $6 each and you may already have a lipgloss you can use. This tutorial also comes with a quick backstory because without my good friend Ali, I might not even be doing this!

The Lipgloss Backstory
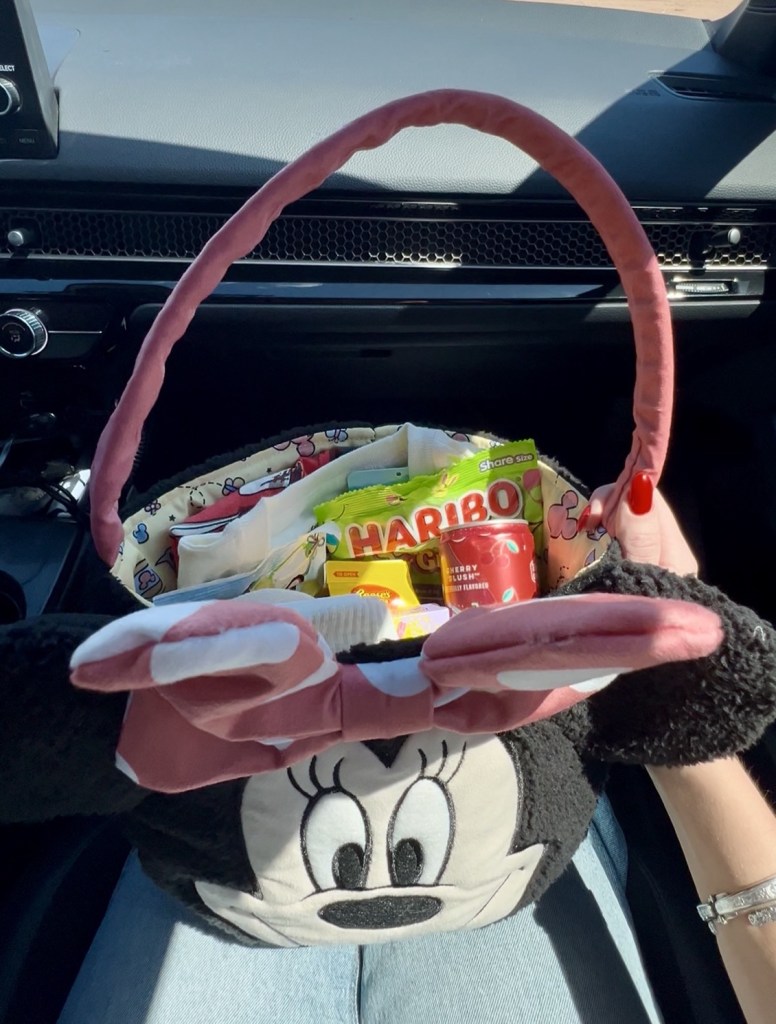
I received a very cute gift basket when I arrived to go on my Disney trip, this past May. I landed at the St. George airport and was a little nervous for the big trip. I collected my bag and headed out to the pickup zone. When I got in the car, I was surprised with the basket! Ali had outdone herself by adding a t-shirt, Disney socks, my favorite drink, candy, and a personalized lipgloss that she made!! The above photo is the one that was included in my Disney gift basket. I instantly thought it was the cutest thing ever and knew I had to make more! For this past Fourth of July weekend, I spent time with my sisters and decided that it was the perfect time to whip together this diy charm lipgloss.
What You Will Need
- Lipgloss
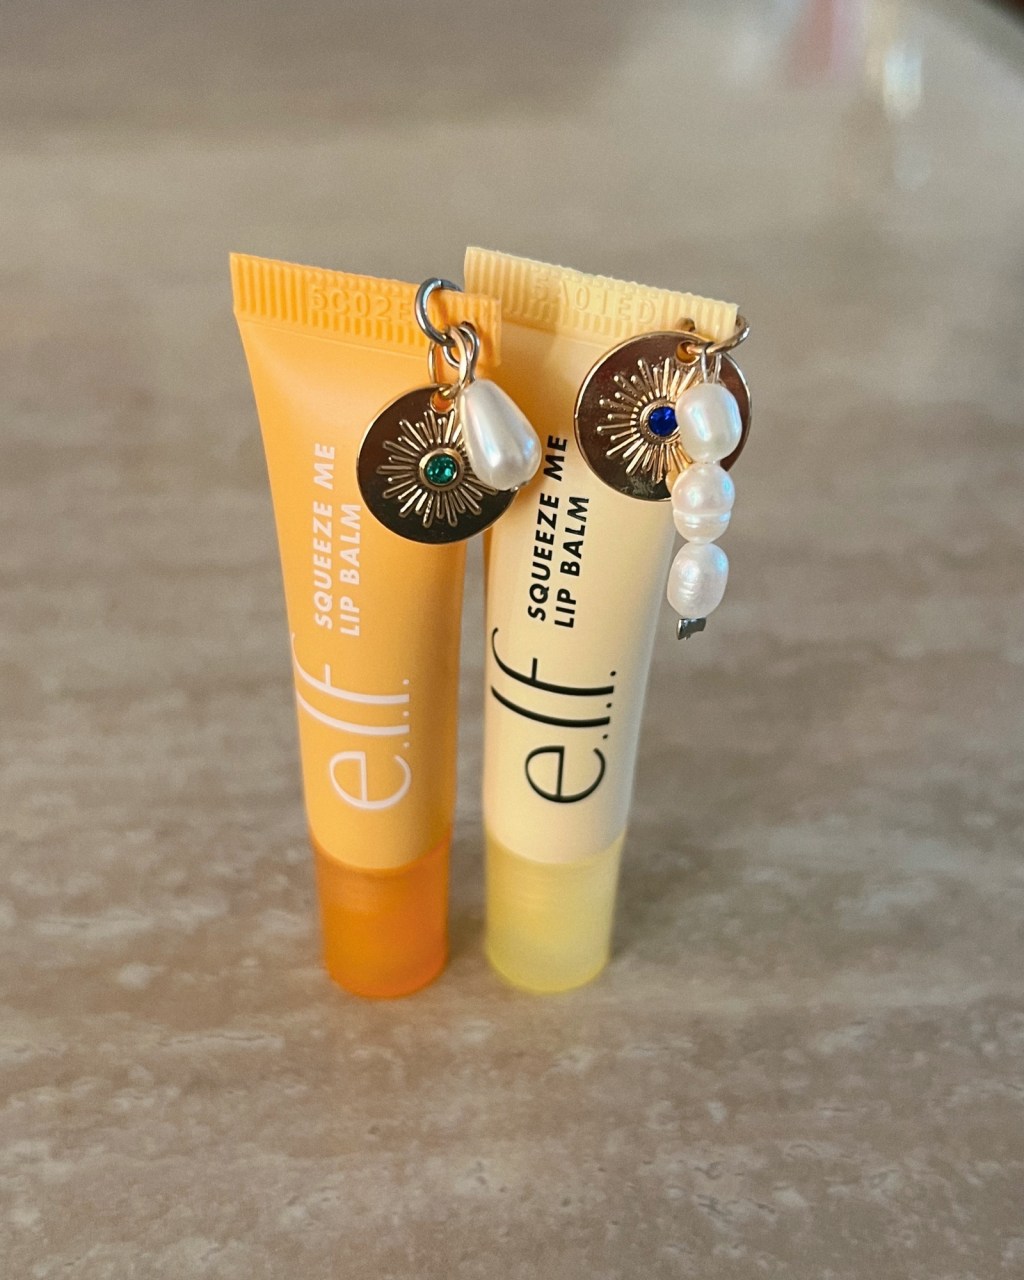
- I used the e.l.f. lipgloss but any with a sealed area to poke a hole through will work.
- Charms
- Be creative! You can either go all out or keep it simple. More inspo pics can be found on Pinterest.
- Pliers
- I used small jewelry pliers. If you don’t have these, they’re a great investment if you’re going to do any future crafting with beads or jewelry.
Step 1: Choose Your Lipgloss
This step can be where your price will vary the most. If you already have a lipgloss that will work, great! If not, you can use this as an excuse to get one you’ve been eyeing. The small e.l.f. lipglosses are $4 at Target and they had a cute selection of colors. I got one of each for our weekend so we could all pick a different flavor.

Step 2: Poke The Hole
The next step is to prep your lipgloss for the charm(s)! The most important thing for this step is to not poke a hole through to the actual lipgloss. This is why you will want to be sure to get a lipgloss with a thicker sealed edge. To poke the hole, I used the jewelry pliers. A needle or small scissors will also work.

Step 3: Pick Out Your Charms
Now the first hard part of this step may come earlier in the process, when you’re shopping for supplies. There are just so many good options! I had a few leftover charms from a charm necklace diy, so I grabbed those. However, I definitely spent my fair share of time at the craft store picking out additional charms for the craft. The second hard part of this step is choosing which one or ones you’ll actually put on your lipgloss.

Step 4: Assemble Your Charm Lipgloss
After picking out which charm you think you like, try adding it to the lipgloss! Open the jump ring and slide it through the hole you created on your lipgloss. Some charms come with a little jump ring. If it doesn’t, simply add one prior to your charm. While adding our charms, my sisters and I found that we liked combinations we didn’t initially pick. I definitely suggest playing around with it a little and not being too hard on yourself if you want to change it!

And that’s it! I love an easy craft that anyone can do! This definitely added a fun activity to our holiday weekend. If you need a fun girls night or craft party idea, charm lip glosses are it! Bonus points if you up-cycle a lipgloss you already have!
Anyways, I hope you guys loved this easy diy craft as much as I did! I also love how you can enjoy it for so long because you actually get the lipgloss after as well. If you did enjoy reading, I’d love it if you left a quick like or comment. If you have other great crafts I should try, dm me (@memphis.crane) or leave them below!
Talk more soon,
Memphis


Leave a comment